INSTALLATION
|
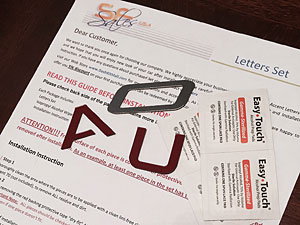
READ THIS GUIDE BEFORE INSTALLATION
If you have any questions about your Logo
Letters Set or the installation process
please contact us BEFORE starting your
installation. Installation will take 10 - 20
minutes depending on set size. |
|
|
 |
| INSTALLATION |
|
Letter Set Package includes:
Letters Set
Printed Installation Sheet
Isopropyl Alcohol Wipes
What you will need for your Letter Set
installation:
Hair Dryer
Clean, Lint Free, Soft Cloth
10-20 minutes of time depending on your set
size |
|
 |
| Step
1 |
|
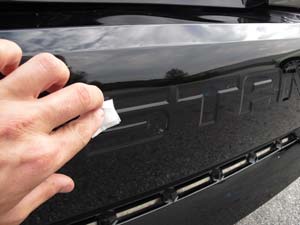
Thoroughly clean the area where the pieces
are to be applied with a clean, lint-free
cloth and the alcohol swabs provided or with
3M Solvent 70, to remove ALL residue and
dirt.
A test can be performed for cleanliness with
ordinary masking tape, if the tape sticks
easily to the surface. If not repeat the
cleaning process. |
|
 |
| Step
2 |
|
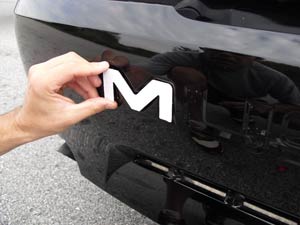
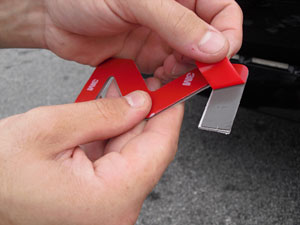
Without removing the red backing tape,
"dry-fit" ALL pieces, noting correct
placement, joins and angles.
Very
Important Note: ALL pieces should be
checked "dry-fit" before proceeding to Step
3. Immediately stop installation procedure
and contact us even if one piece doesn't
fit.
Any money back or refund requests based on
fitting issues will be declined once the kit
or partial pieces are installed. Only
replacement and correction requests will be
reviewed and accepted. |
|
 |
| Step
3 |
|
At the moment of installation, every piece
and its installation area should be warm,
recommended installation temperature is
between 76F - 80F (24C- 27C). If letters are installed on a cold day,
gently heat the letter and its installation
place just before applying using hairdryer.
Repeat this procedure for each remaining
letter. Remember to heat pieces before
removing 3M protective tape. Do
not overheat!
Alternately, on sunny days, laying the kit
in the sun for 10-15mins will have the same
effect. |
|
 |
| Step
4 |
|
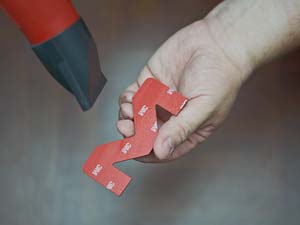
Hold the piece by the edges to avoid
touching the adhesive surface. Peel Red
Protective tape out, place piece in
position, align correctly and thoroughly
press down on the entire surface of each
piece to ensure a complete "wet-out" of
adhesion to the surface.
Repeat this step for all pieces you have.
When red backing tape removed DO
NOT TOUCH 3M adhesive surface! |
|
 |
| Step
5 |
|
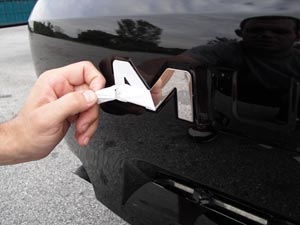
Remove front side clear or white protective
tape from all pieces. |
|
 |
| Step
6 |
|
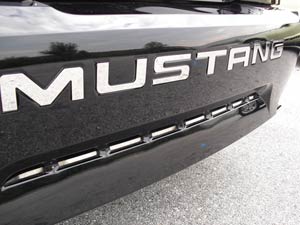
Enjoy
our product. |
|
Please do not hesitate to contact us at service@dashkitmall.com with
any questions or concerns regarding this
particular set or your future purchase. Our
Customer Support representatives are always
happy to help you. |
|
There are no products to list in this category.